But First, Let Me Take a Selfie Gallery Wall

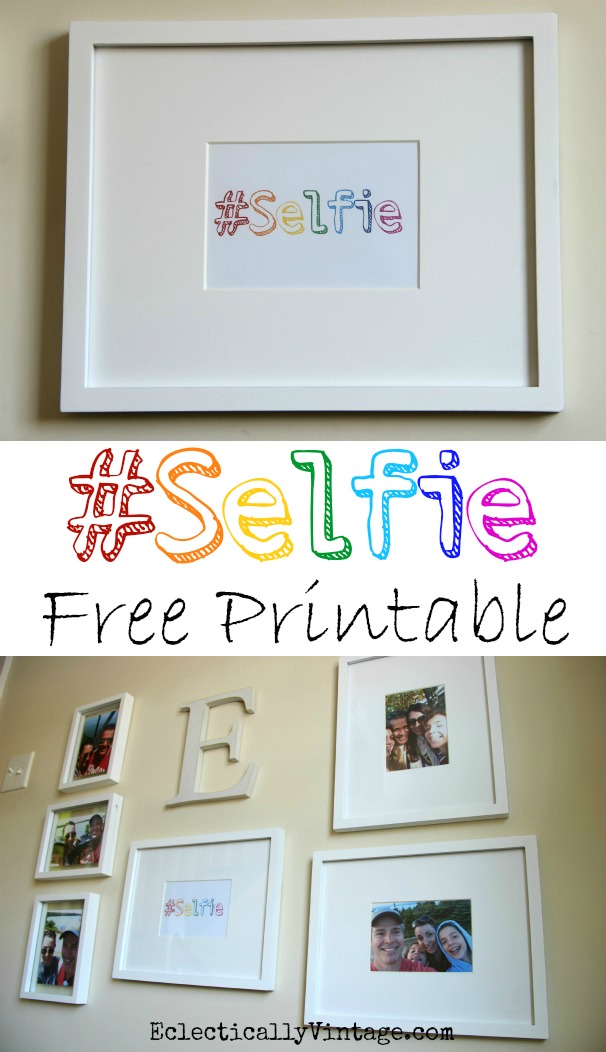
Ever notice that we moms get the short end of the stick when it comes to family photos?
We’re usually the ones behind the camera.
That’s why I love taking family selfies with my cell phone. Don’t worry, I’m not going all duck lipped, Kim Kardashian on you.
These selfies do make us laugh as can be seen from the bottom, right photo where we cracked up attempting to capture the perfect shot atop Cadillac Mountain in Maine.
I decided to gather up some of our favorites and create our family selfie hall of fame on a bare staircase wall leading to our bedrooms.
I’m excited to announce that this year, I am a Command™ Brand Ambassador which means I get to work with a company who’s products I love. Any company that can keep my walls, doors and cabinets free from tons of little nail holes is a star in my eyes – they are a damage free decorating wonder (right up there with buttered baguettes and red wine).
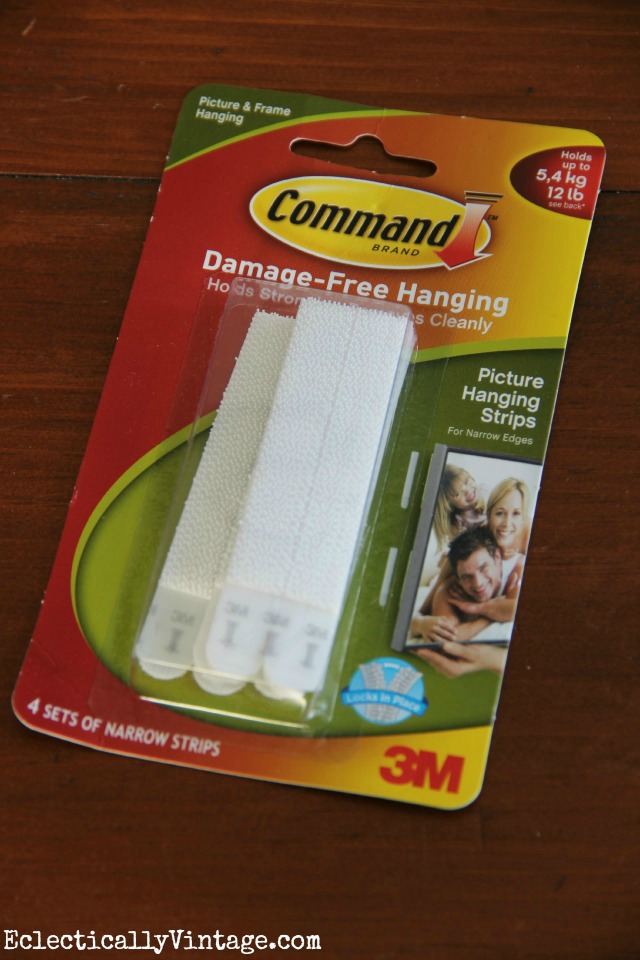
One of my favorites are these Command™ Picture Hanging Strips that are so easy to use while making hanging a gallery wall a snap since I can eyeball frame placement as I’m hanging them instead of trial and error – which means no more nail holes in my wall.
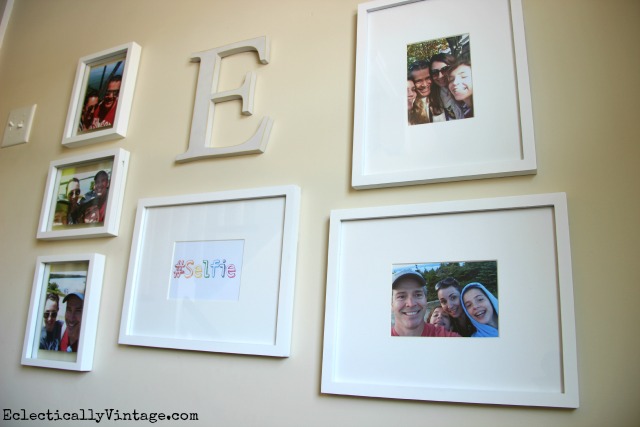
Now, let’s talk selfies …
#Selfie Wall How To
Materials:
- Photo Frames in any size (I used three 8″ x 10″ floating frames and three 12″ x 15″ matted frames)
Note: Be sure the back of each frame is smooth
- Initial Monogram
- Printed family selfies to fit the frames (I used five)
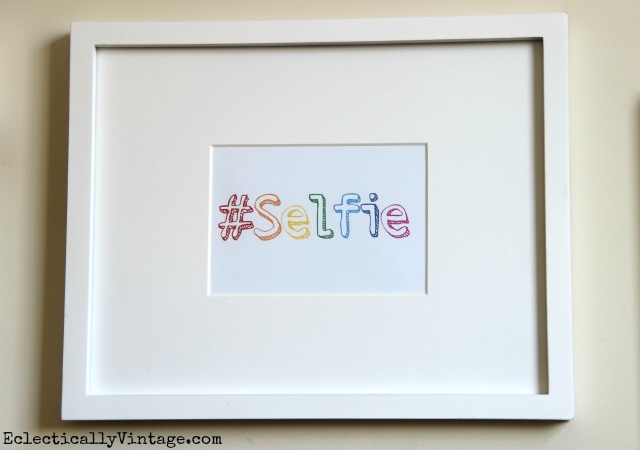
- Free #Selfie printable (5″ x 7″)
- Small level
- Measuring Tape
- Command™ Narrow Picture Hanging Strips (I used four sets)
Note: Follow all Command™ Brand package instructions for proper surface cleaning and prep, adhesive strip placement and recommended weight claims.
1) Print out your favorite selfies and a free 5″ x 7″ #Selfie printable to fit the sizes of the frames. Gather all materials, determine where you want to create the selfie gallery wall and follow all surface prep instructions on the back of the packaging.
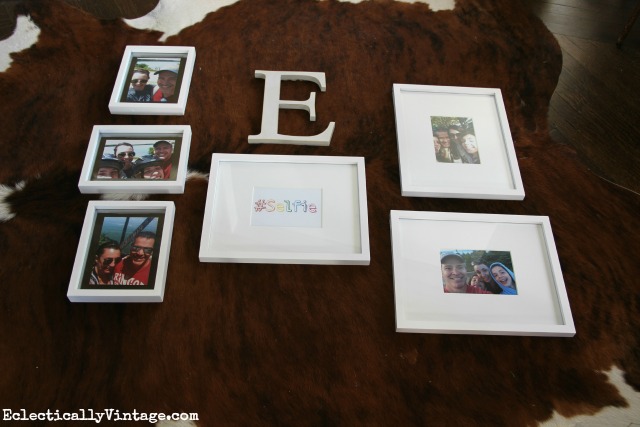
2) Use a tape measure to determine the size of your hanging area. Based on the size, plan your layout by arranging the picture frames and the initial monogram on the floor. Try several different layouts until you’re satisfied.
3) Following package instructions, apply the Command™ Narrow Picture Hanging Strips to the back of each frame and initial monogram. Be sure to reference the packaging to determine how many sets to use based on the weight of each item.
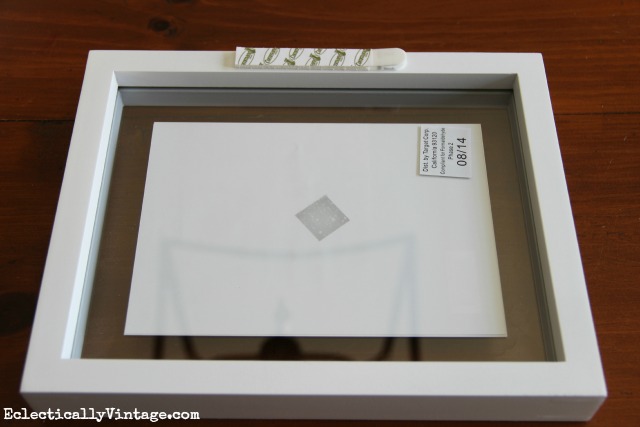
4) Following package instructions, begin mounting the frames on the wall starting with the middle frame to help center the gallery wall. Use a level to ensure everything is straight.
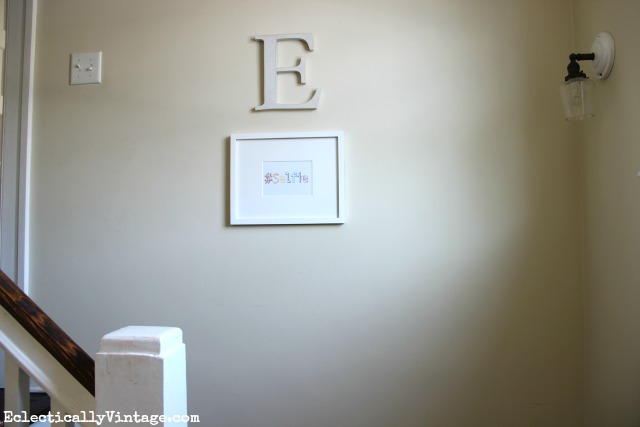
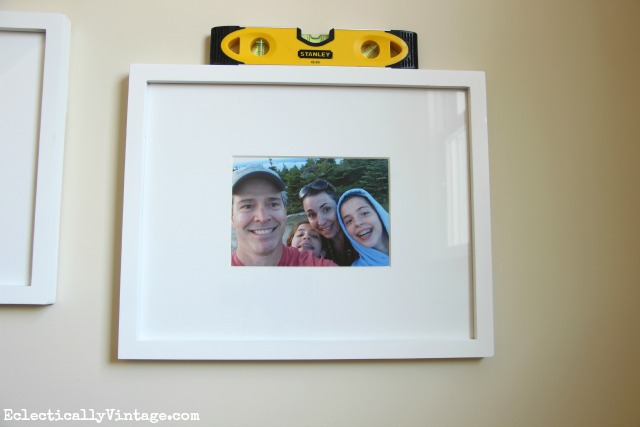
5) Repeat steps 3-4 until all items are mounted. Step back and admire your selfie gallery and feel free to remove the frames and swap in new photos throughout the year!

Sad, lonely, blank before …
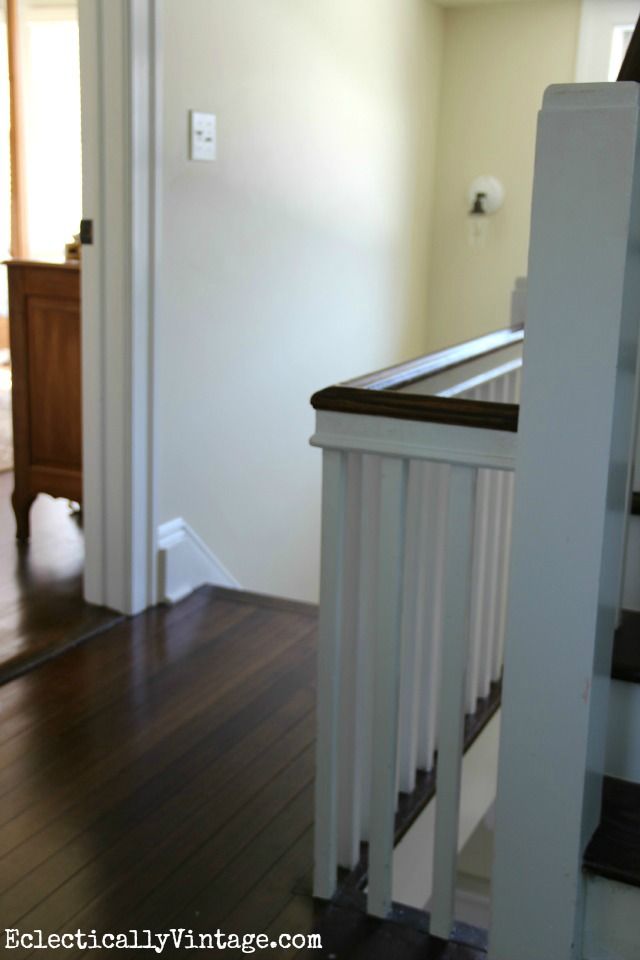
Happy, fun, memorable after …
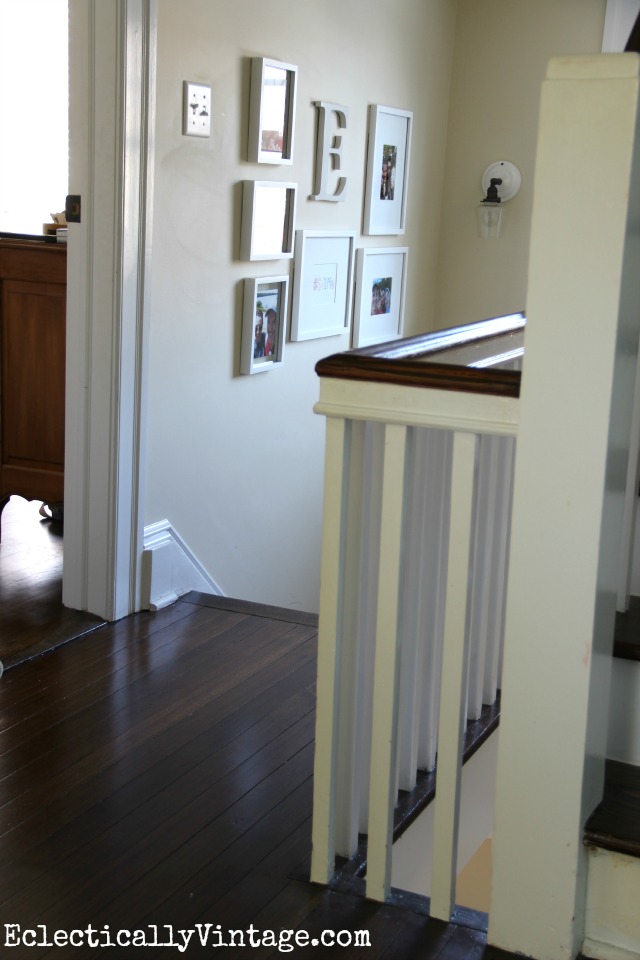
P.S. Make sure to let your friends know when they have anything stuck in their teeth before they post their selfies.
I am a Command™ Brand ambassador and truly love the company and their products – I only speak the truth.

What a cute idea!….Love your selfies!!!….The gallery is beautiful and it must make you smile every time you see it!
What a fun idea. Your selfies are so cute. I LOVE Command Strips and use them all the time. They keep the pictures from tilting. Love that.
I am so glad to hear about these,i need to get some to use,thanks Kelly,i love you selfies you have a wonderful family.
Cute project Kelly! Love how you can switch it out too. I just added some things to my kitchen, which is beadboard, and it’s so nice to have the flexibility to do it without nail holes! I hear that 😉 The #selfie printable is darling too!