How to Paint a Repeating Wall Mural (Serena & Lily Wallpaper Knockoff)
How to Paint Repeating Wall Mural – Think you don’t have the art skills necessary to pull off creating a wall mural? I’m here to tell you that you can do it! See how you can get the upscale look of wallpaper without the expense. I’m sharing an artist’s step by step tips on how to create a wall mural without a stencil. We will show you how to plan, measure and paint this repeating wall mural and the best part is you can customize the size. You won’t need any fancy gadgets and for the price of a just a quart of wall paint, you can get a one of a kind look.
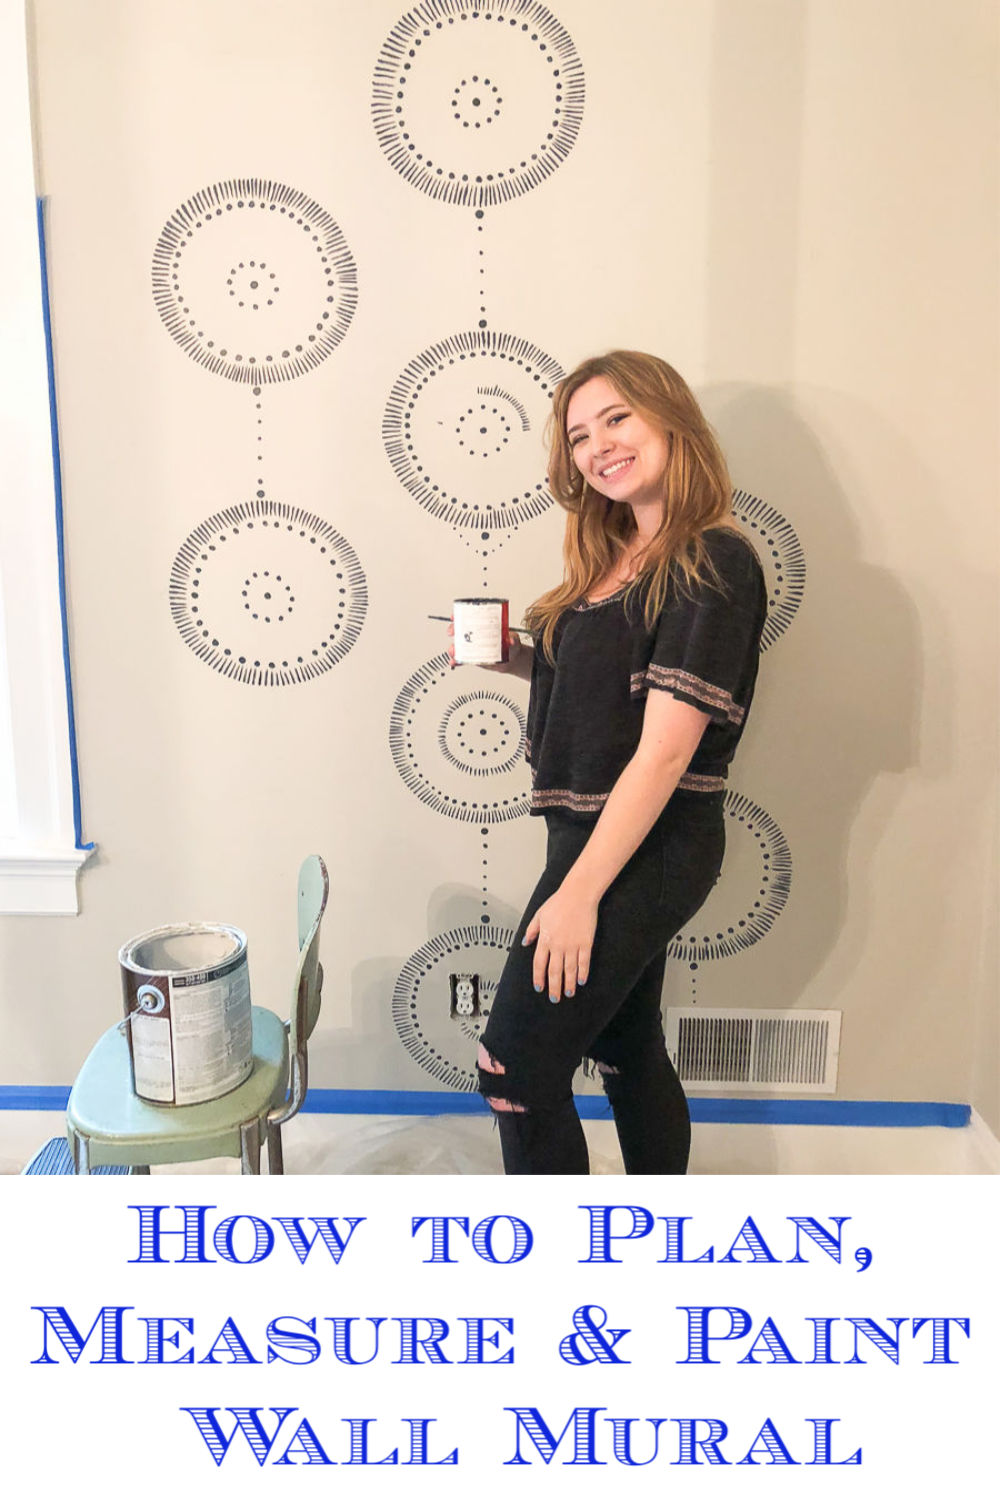
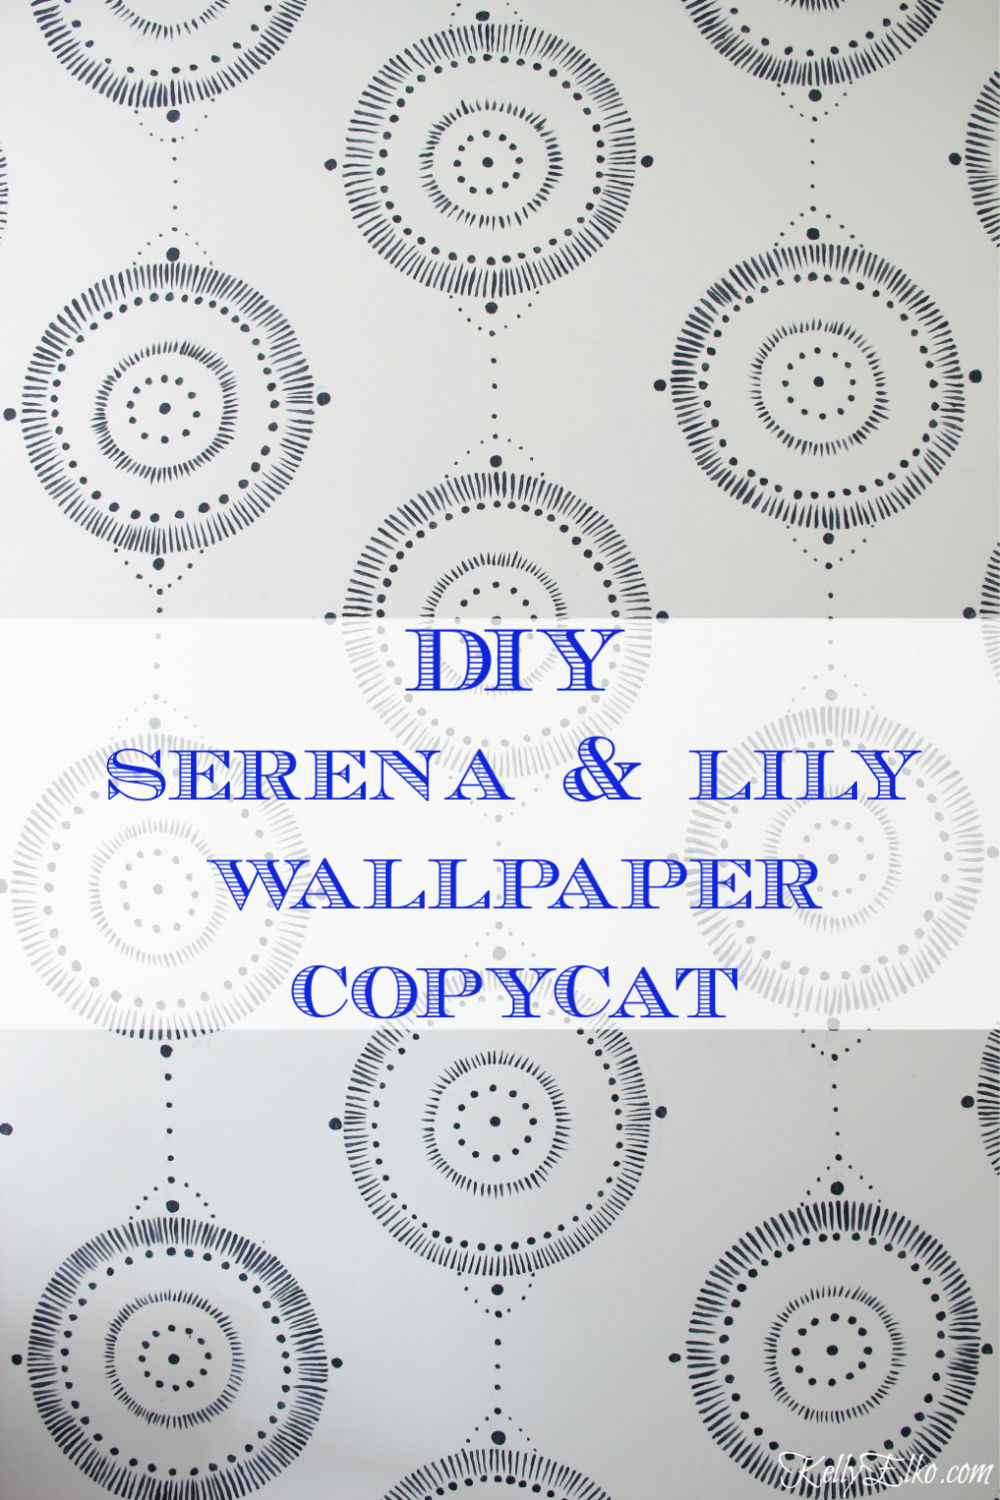
I fell in love with this Serena & Lily wallpaper but didn’t like the price so I did the next best thing and created my own copycat mural with paint.
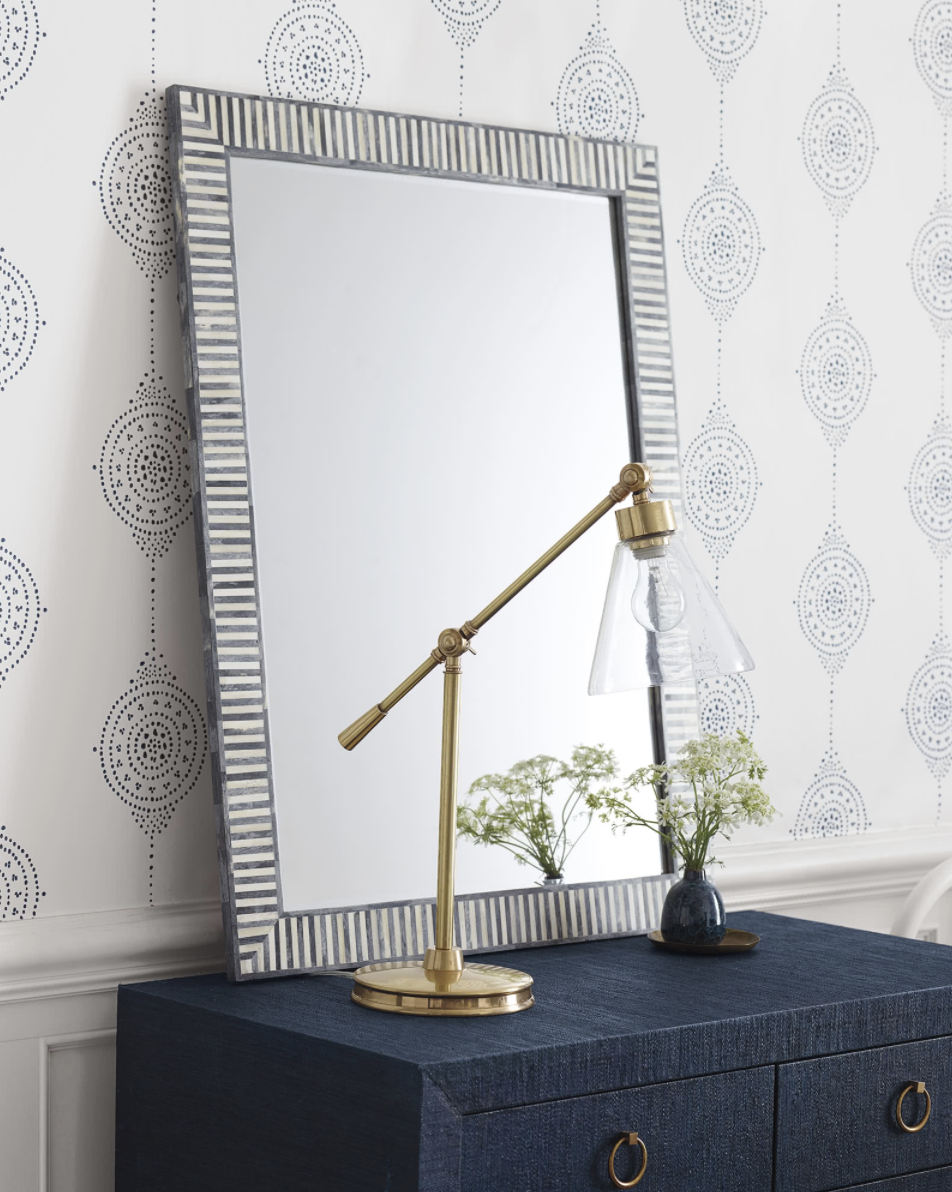
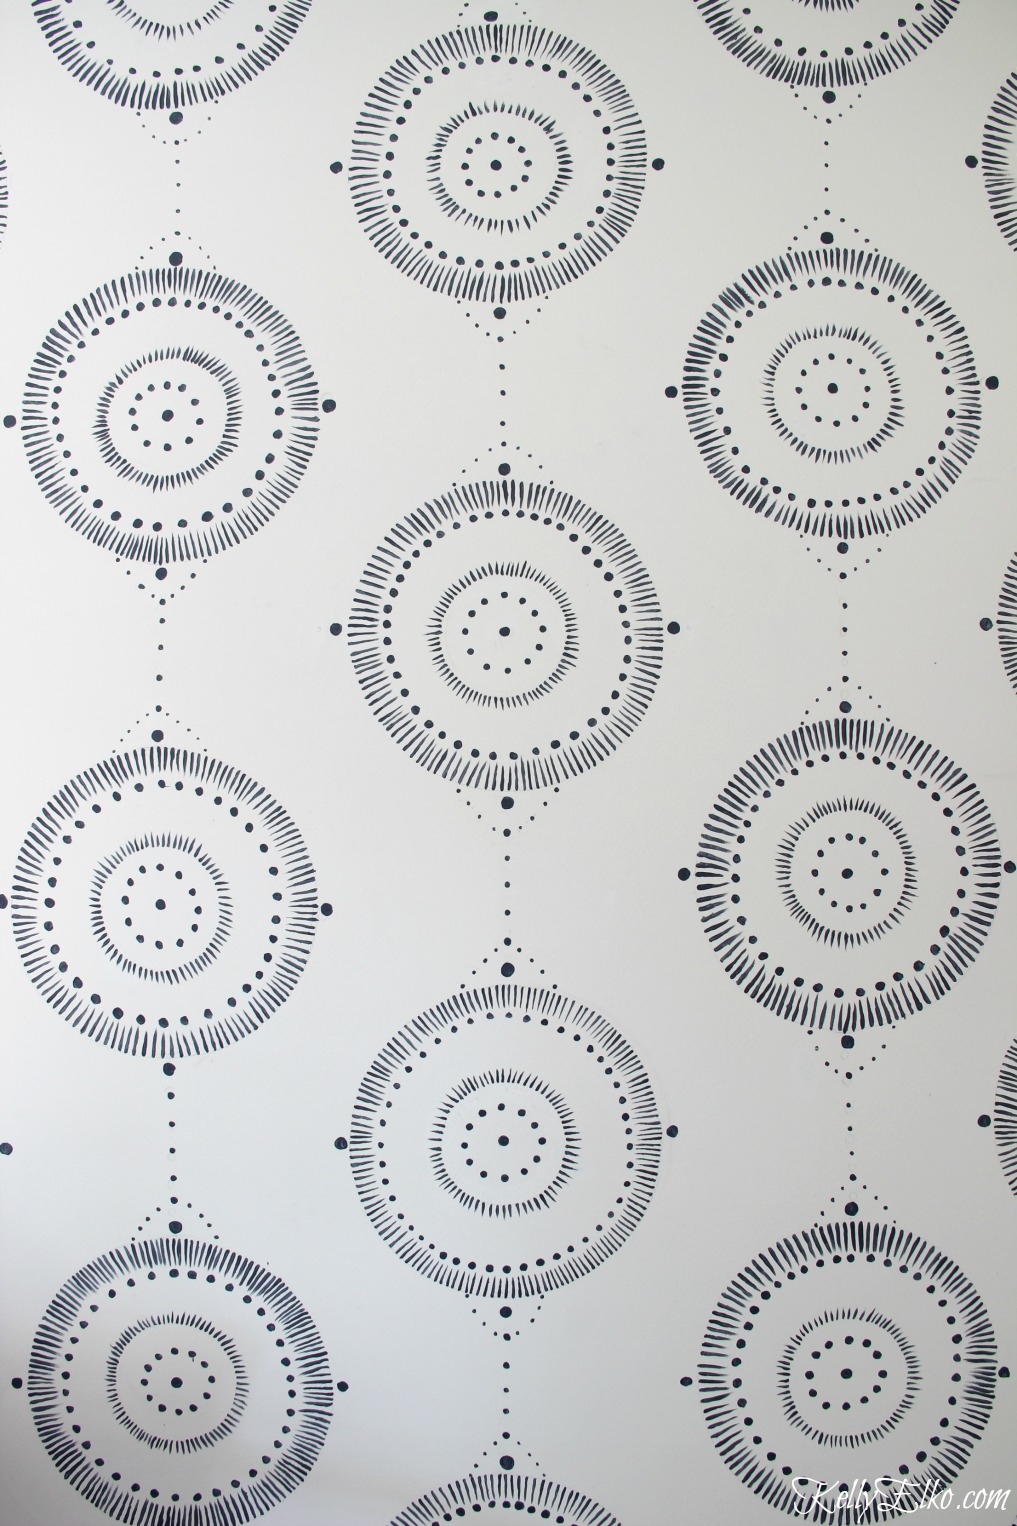
Before you paint your mural, make sure your walls are painted a nice background color and then clean your walls so they are dirt and dust free.
Don’t miss this post: How to Paint Walls
How to Plan, Measure and Paint a Repeating Wall Mural
Sketch out some designs on paper
Measure your walls – Start with your focal point wall (the wall that will be seen the most) so you can be sure that your pattern is perfectly spaced (as you move around to other walls, the pattern will most likely not be centered evenly on those walls).
Measure the height of the wall (excluding moulding) and divide by the number of circles you want on each vertical row (we chose four per row). This will determine how large to make your circles and how much space between each.
Measure the wall horizontally (the focal wall has a window so we measured one side of the wall) to fit four or five circles across.
Trace your circles on the wall using pencil (we used a 14″ round basket to trace the outer circle and a 6″ plate for the inner circle).
Tip: Use a laser level to make sure circles are aligned vertically on the wall.
Start painting and don’t worry about being perfect.
We used less than a sample size can of regular wall paint for the entire room.
Wall Color: Ben Moore Agreeable Gray
Mural Color: Ben Moore Hale Navy
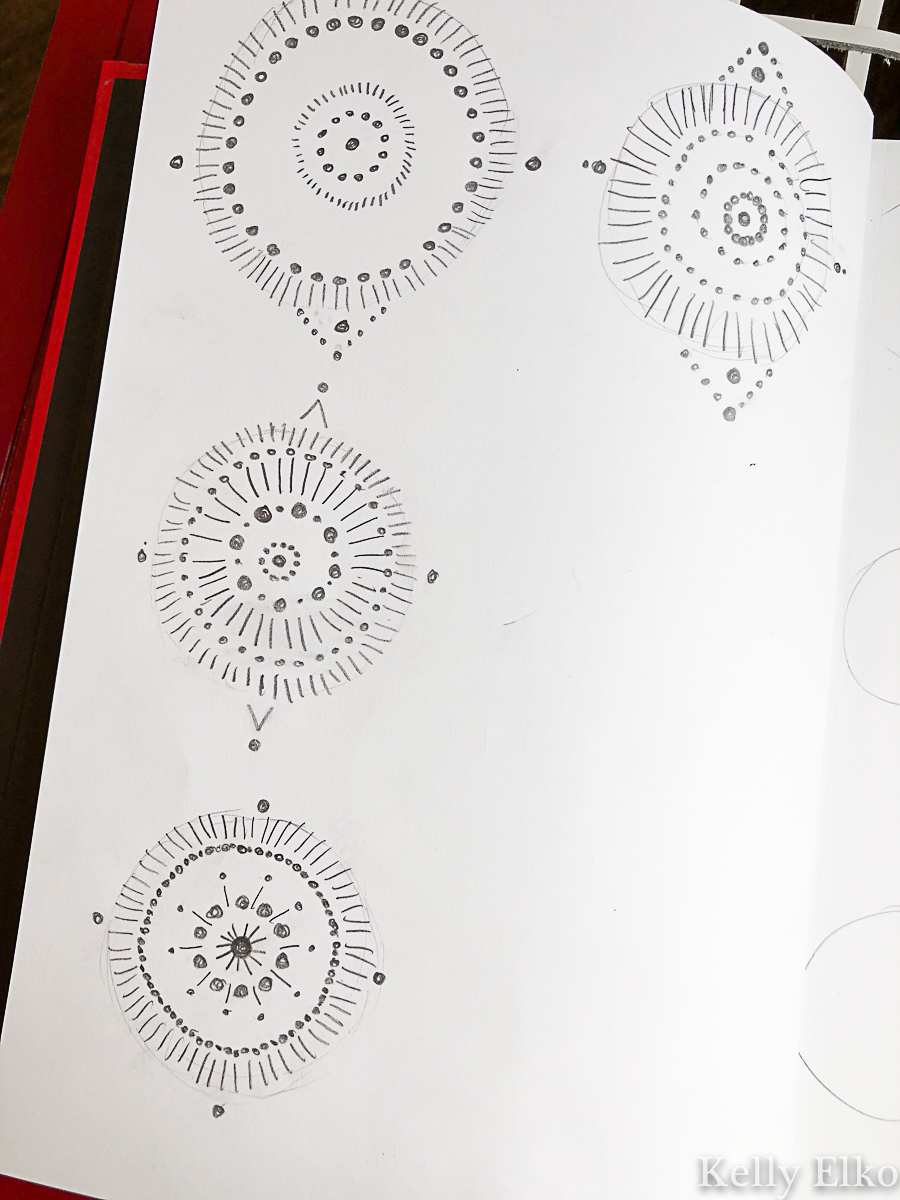
I hired my friends daughter who is a talented artist and college student. I showed her my vision and she sketched a few design ideas. It was a difficult choice but I ended up choosing the top left sketch. I’m so glad I did because the extra details in the other sketches would have added so much more time to the painting process.
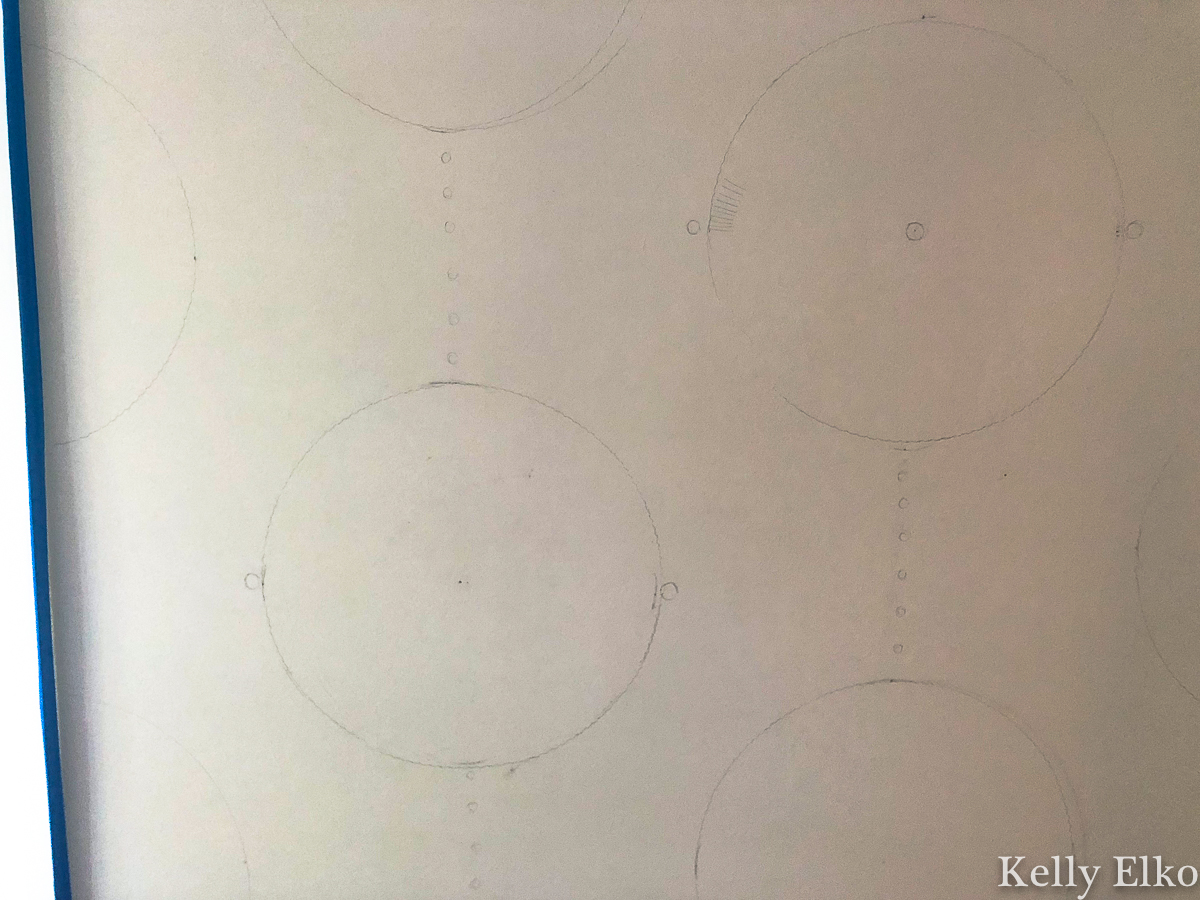
Find something round and start tracing your design onto the wall with a pencil. We used a 14″ basket for the outer circle and a 6″ plate for the inner circle. The rest is drawn freehand.
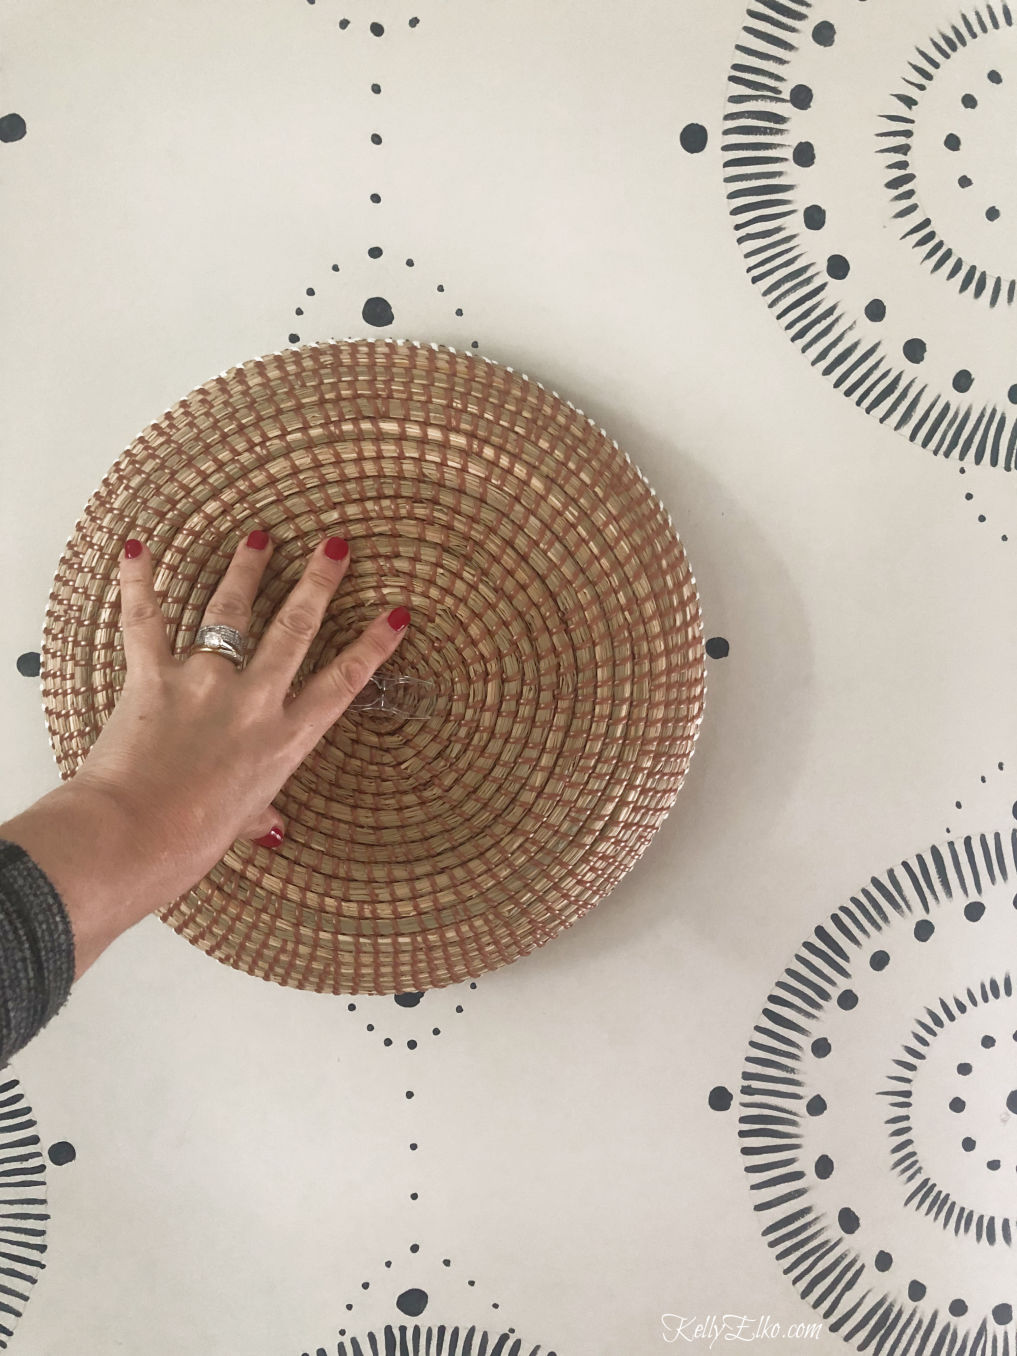
Using a small artist’s paintbrush, start adding paint over your pencil marks.
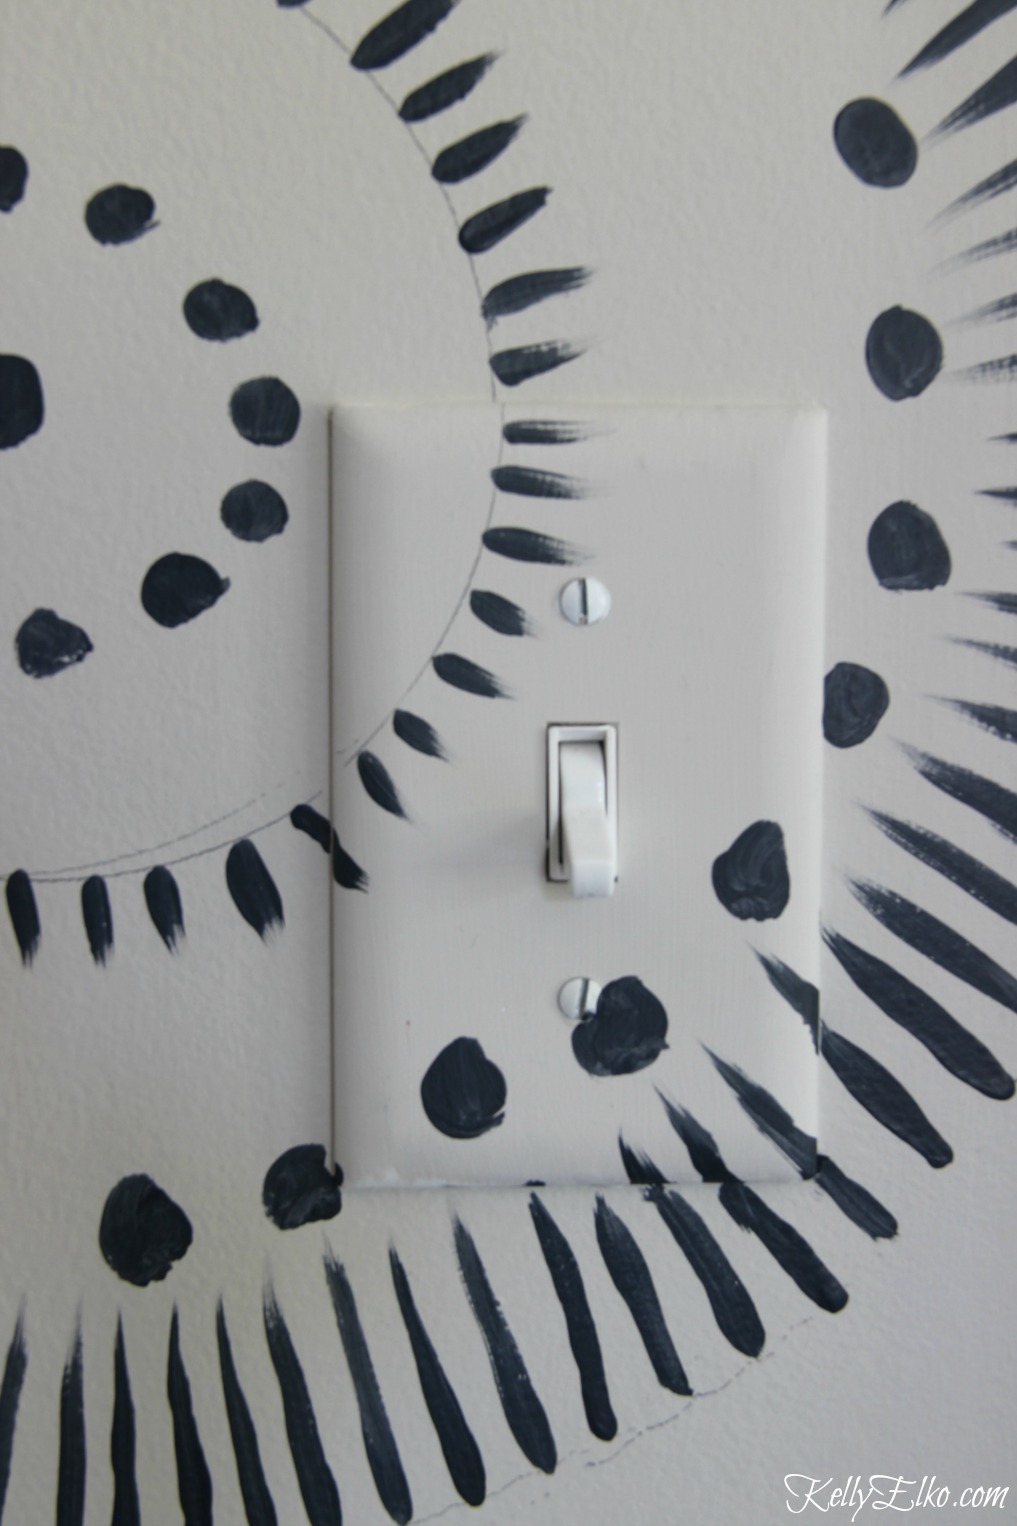
Don’t forget to paint the mural over switch plates and electrical receptacles for a seamless look.
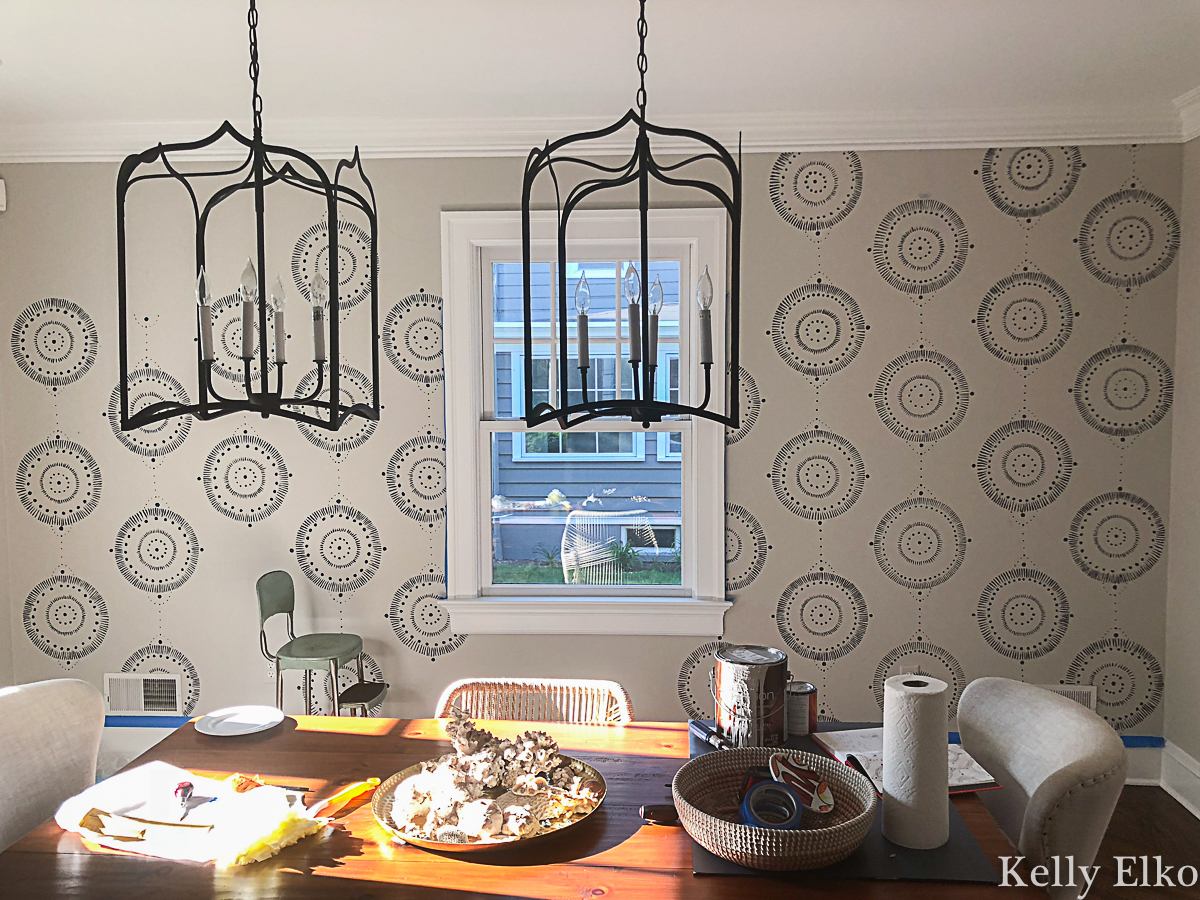
Making progress! It took a total of 40 hours over the course of a week to finish the mural on all four walls.
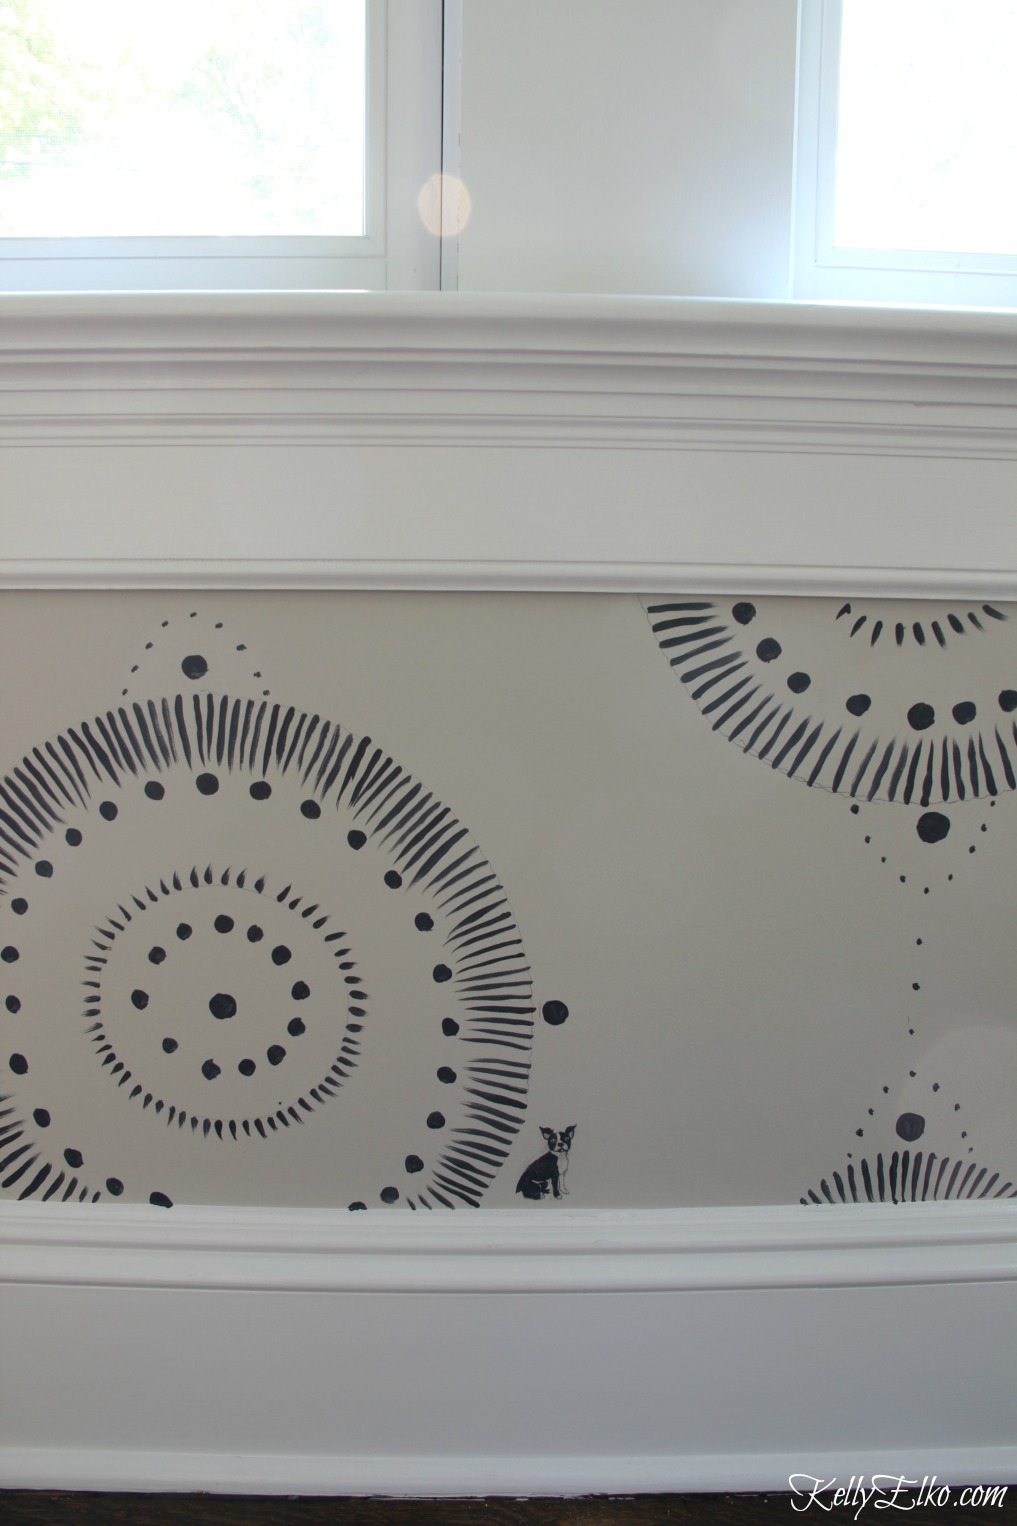
There’s even a “Secret Sushi”, a tiny painting of my dog!
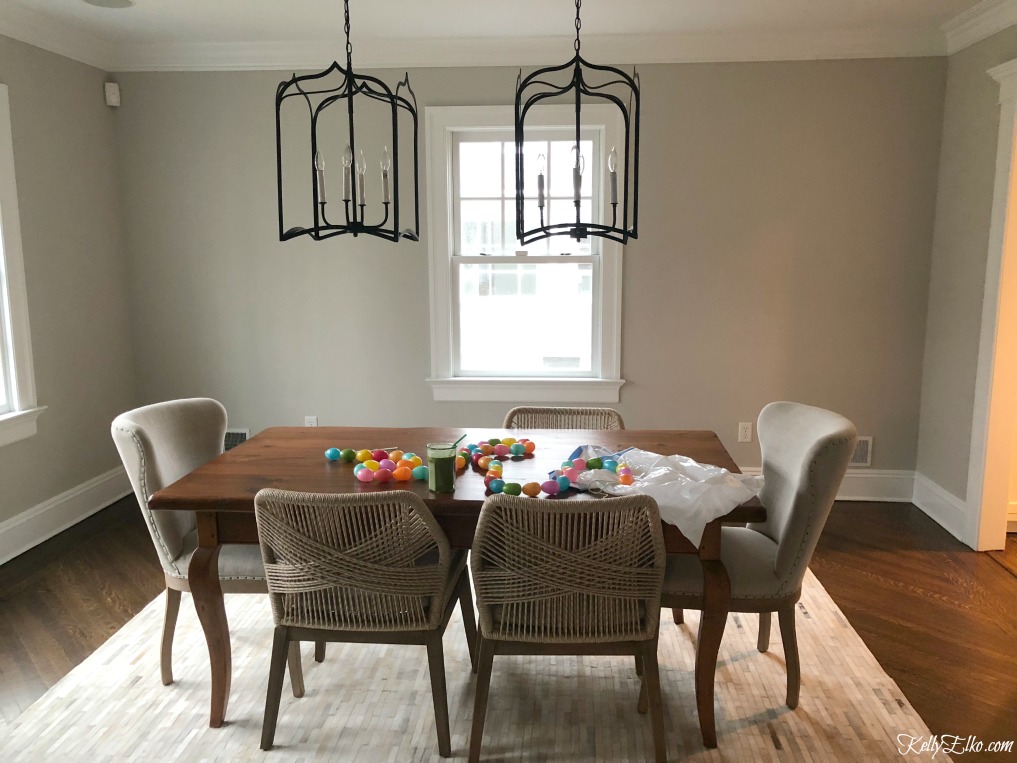
Snore … here’s the before!
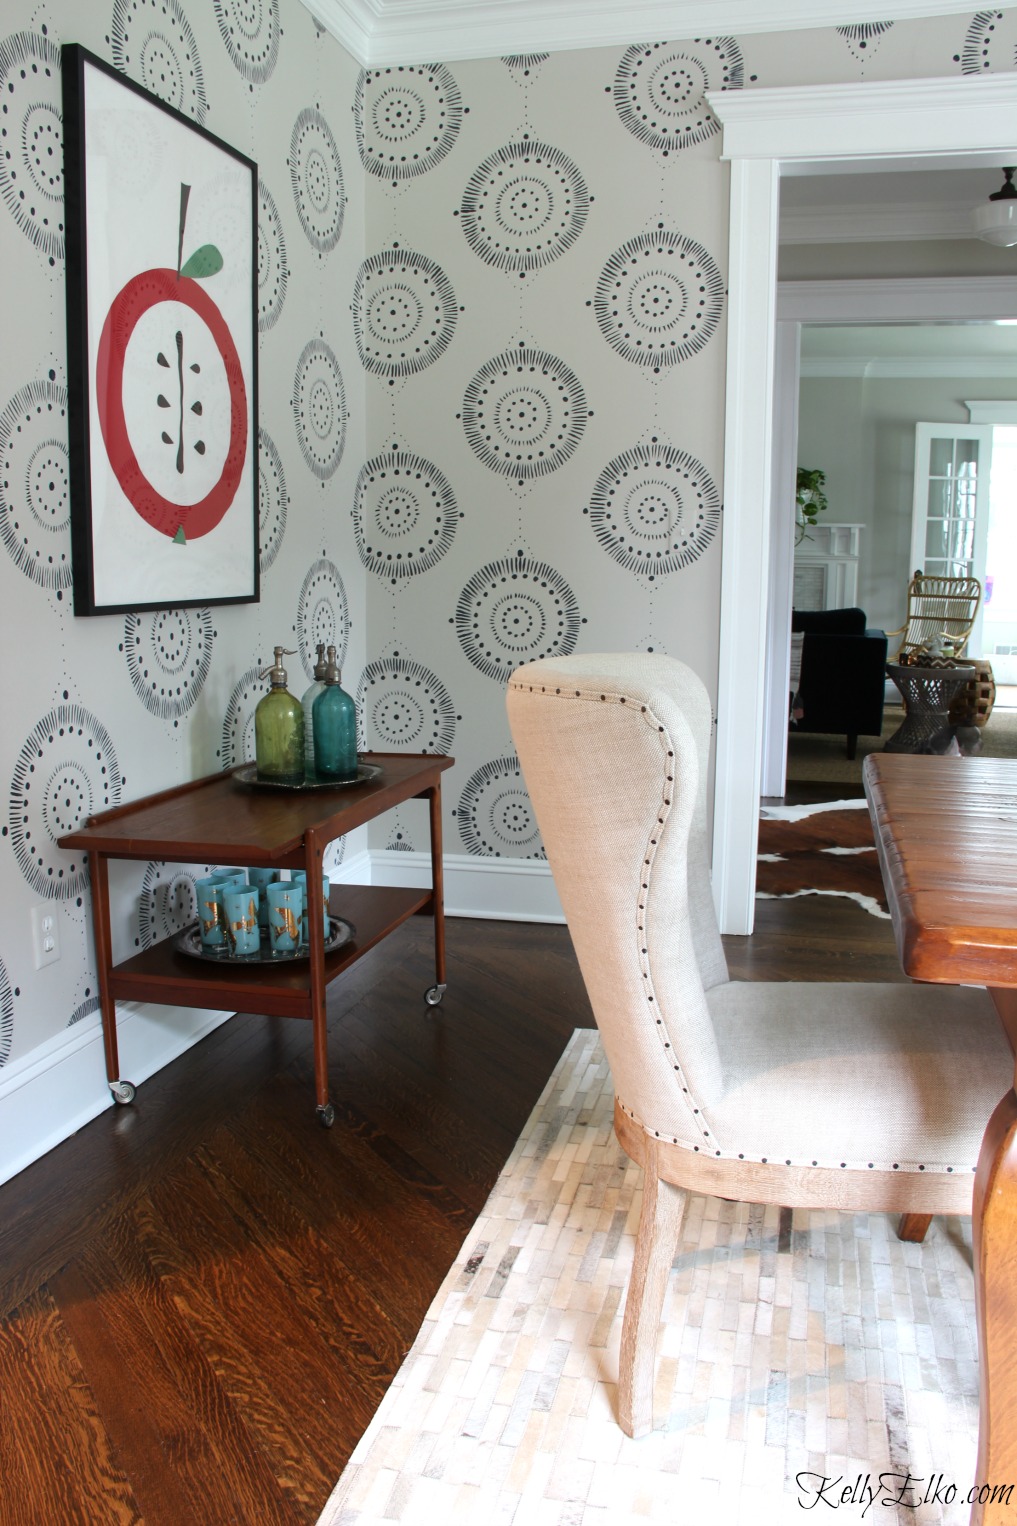
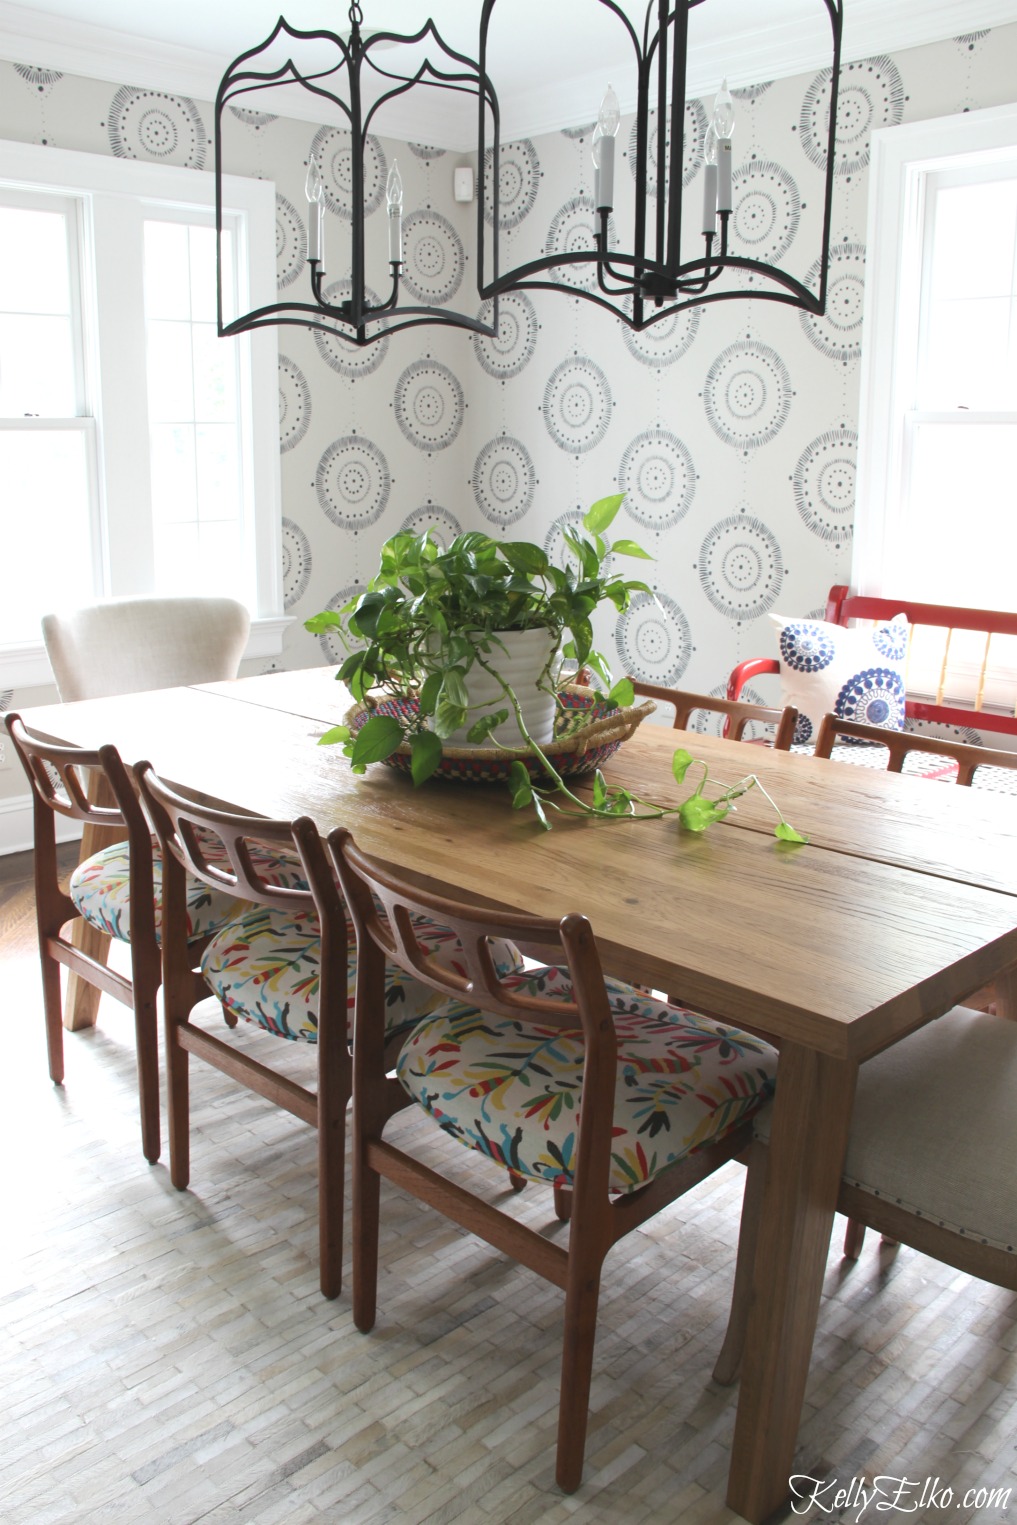
What a difference a mural makes! And if you notice in the above photo that there are only three side chairs (one broke!), I needed replacements and was thrilled when my friend gave me these vintage chairs that I reupholstered in a colorful fabric.
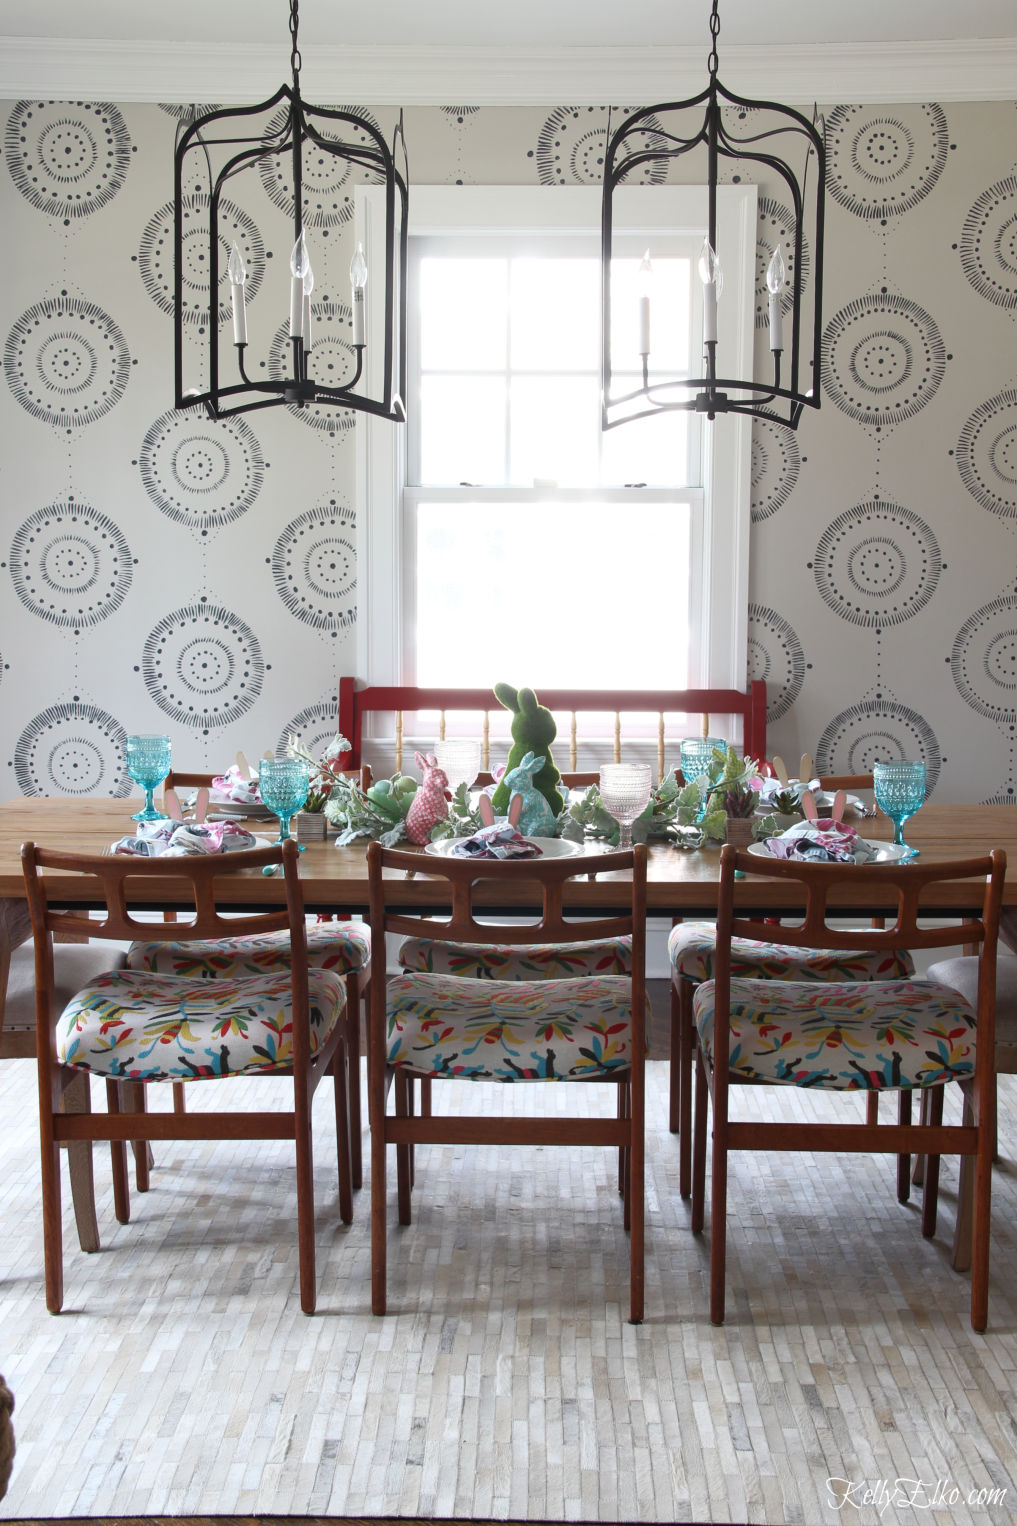
Would you give this a shot? It’s so nice knowing that you can get the look you’re after without the high price tag if you’re willing to take a chance with a paint brush and a quart of paint.

Thank you for sharing the behind the scenes steps to the beautiful wall mural. My favorite part though is the secret Sushi.
Sushi always steals the show!
Fabulous! Love how you layer patterns and color.
Thanks so much Dina! I love color!
Lovely!
Thanks Shawn!
It really made a difference and thanks for the instructions, i’m not sure i have that much energy or maybe sense,lol!! She did a great likeness of Sushi.
It definitely requires patience Marlene!
Hello! I would like to try to do something like this in a room in my house. I’m curious to know about the pencil you used and how you erased it. I’ll definitely need to sketch some things out in pencil on the wall and then I’ll paint like you did. Any tips on removing the pencil lines later, other than the obvious, to use an eraser? Is there a special pencil and eraser you think works best? How long should I let the paint dry before trying to erase the pencil? Did the eraser leave marks on the wall? Was erasing the pencil lines horribly painstaking? Again, I just would appreciate any tips you might have. Thanks so much again!
We didn’t erase the pencil parks Desiree and they can only be seen if you really look up close.
Your’s is actually much much much nicer than the original.
Thanks so much Eve … I think so too!!
What a beautiful idea! Can you tell me how high your ceilings are? They look like 10’ and we have 8’ so I’m wondering if this design would look ok with the 14” or if smaller would look better? I just love this and am definitely going to try. Thank you for sharing.
Hi Kris, my ceiling height is 8.5 feet. I recommend drawing out both sizes on paper and taping them to to the wall to decide best size before you begin.
The scale of this is better than the Serena and Lily. Beautifully rendered. ❤️
I agree Susan! This one is much more of a statement!